* All product/brand names, logos, and trademarks are property of their respective owners.
In the fast-paced world of digital design, time is always ticking — and efficiency can make or break your creative flow. Whether you're designing a mobile app, a responsive website, or a complex platform interface, having a clear, repeatable workflow is the difference between chaos and clarity. That’s where Adobe XD comes in.
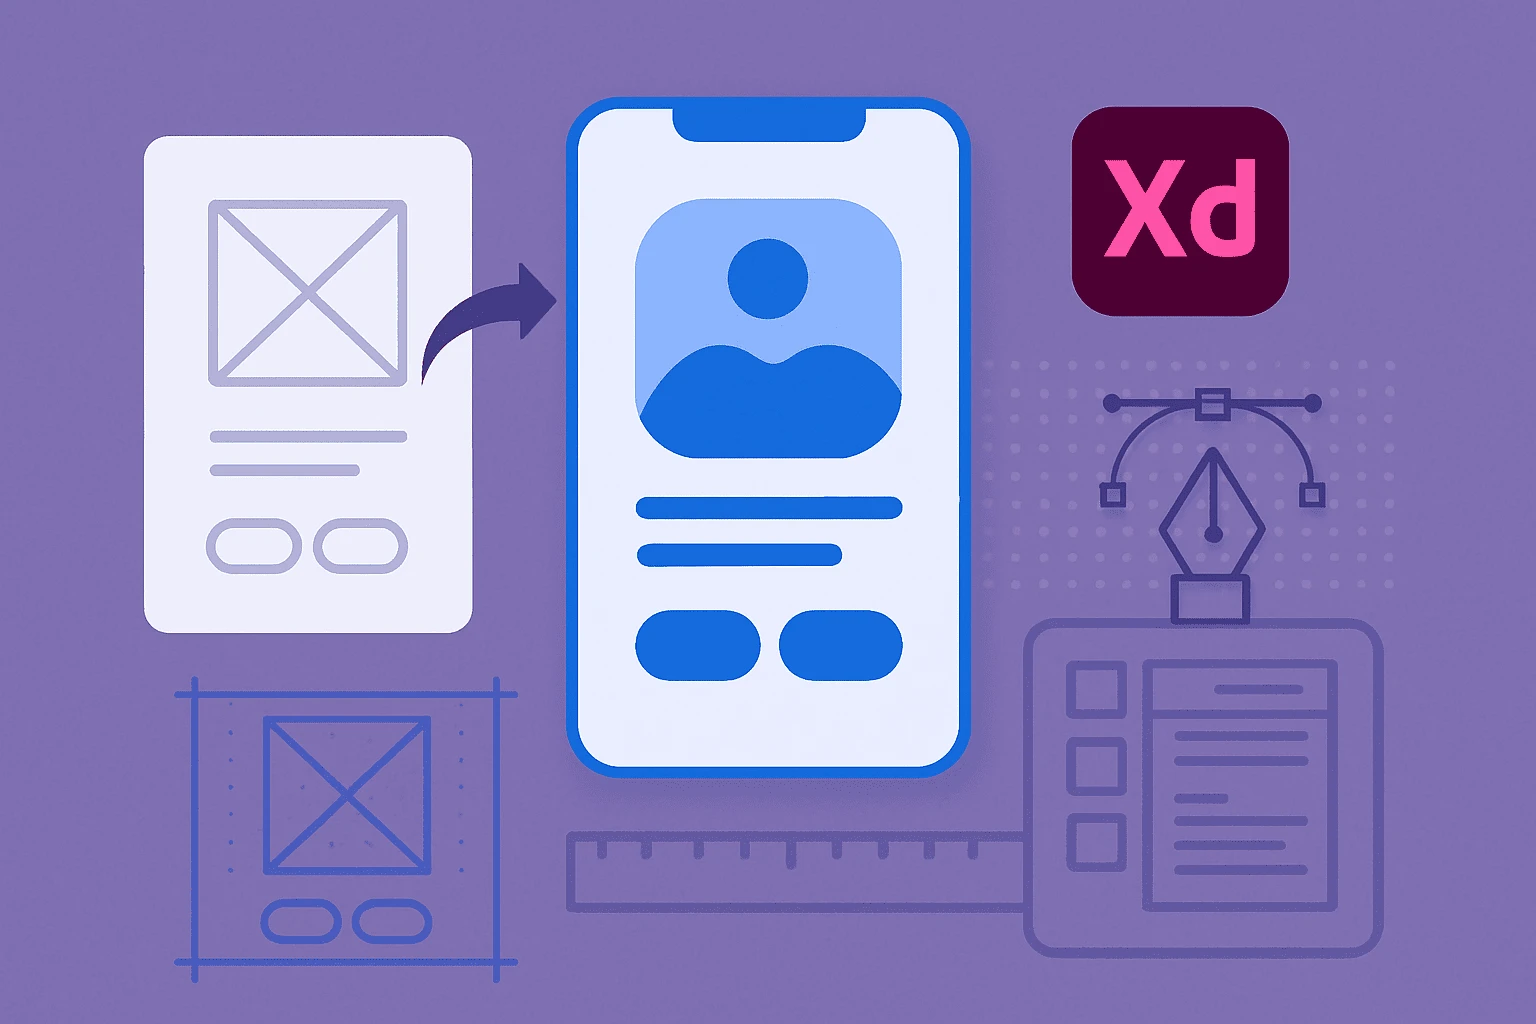
Adobe XD has quickly become a favorite among UX/UI designers for its intuitive interface, powerful prototyping features, and seamless integration from concept to delivery. But knowing how to navigate its many tools isn’t enough — the real magic lies in mastering the workflow that takes you from a rough wireframe to a polished, interactive prototype.
If you've ever opened Adobe XD and stared at a blank artboard, wondering how to begin — or felt overwhelmed trying to connect the dots between sketches and live previews — you're not alone. This guide is built for you.
We’re going to break down a practical, step-by-step blueprint that shows you exactly how to move from initial layout sketches (wireframes) to fully functional, clickable prototypes. No fluff. No confusing jargon. Just a clear, designer-tested process you can start using today.
You’ll learn how to set up your project, organize your elements, build reusable components, and layer in interactivity that brings your design to life. Whether you’re a beginner looking to understand the fundamentals or a working designer hoping to refine your Adobe XD workflow, this post will give you the structure and confidence to deliver cleaner, smarter designs — faster.
Let’s roll up our sleeves and jump into the Adobe XD workflow blueprint — from wireframe to prototype.
Creating wireframes is where your ideas start to take shape. In Adobe XD, wireframing is quick, clean, and highly adaptable — allowing you to focus purely on structure and functionality before you worry about visual polish. Here's how to lay the foundation for a smooth design-to-prototype workflow.
The first step in any good wireframe is a well-structured layout. Adobe XD makes this easy with its wide selection of pre-sized artboards tailored for different devices — whether you're designing for desktop, tablet, or mobile.
Once you've selected your artboard, activate the Layout Grid. This simple step helps align your elements with precision and ensures consistency throughout your design. You can switch between a square grid and a column-based layout depending on the complexity of your interface. Grids are essential for maintaining balance and hierarchy, especially when working with responsive designs.
Another time-saver: duplicate artboards as you iterate, so you can track changes and test alternate layouts without losing previous versions.
Wireframing is about functionality, not looks. Start with basic shapes — rectangles, lines, circles — to block out the core components of your interface: headers, navigation bars, CTAs, content blocks, and so on.
This is also the time to introduce Components. Instead of copying and pasting the same button or menu across your wireframe, convert it into a component. Adobe XD allows you to create reusable, synced elements that automatically update across every instance when edited — a huge productivity booster.
Keep it grayscale at this stage. Resist the urge to add color or typography styles — the focus here is on structure, spacing, and usability.
One of the most powerful features in Adobe XD's wireframing toolkit is the Repeat Grid. If your design includes repeating elements like lists, image galleries, or product cards, you can create one item and drag to auto-populate the rest — all perfectly aligned.
Even better, you can populate your Repeat Grid with actual content by dragging in images and text files. This lets you test real-world layouts without manual duplication.
To keep things organized, use the Assets Panel to save your components, colors, and character styles. Even during the wireframing phase, having a tidy library makes scaling your design much easier down the line.
A solid wireframe sets the stage for a great prototype. With these tools and habits in place, you’re ready to take your design from static blocks to dynamic, clickable flows.
Once your wireframe structure is in place, it’s time to make it interactive — turning static screens into a navigable experience that mimics how users will actually engage with your design. Adobe XD makes prototyping seamless, allowing you to link screens, animate transitions, and test user flows — all without leaving the app.
In Adobe XD, prototyping starts with the Prototype mode — one click switches your workspace from design to interaction.
From here, you can drag blue wires from elements (like buttons or icons) to their destination artboards. Once connected, choose your Trigger (Tap, Drag, Hover, Keys & Gamepad, or Voice) and define a Transition (like Slide, Dissolve, or Auto-Animate).
You can also set a Home artboard, which becomes the starting screen for your prototype. This helps simulate the full user journey from entry to endpoint.
By connecting each element logically, you're not just designing screens — you're designing how users will move between them.
This is where Adobe XD truly shines. With Auto-Animate, you can create smooth, intuitive transitions between artboards that have similar elements — ideal for showing subtle UI changes like expanding menus, sliding carousels, or swiping cards.
To use it effectively, make sure elements across both artboards are named identically. XD will calculate the changes in position, size, or opacity and animate them automatically.
Additionally, Component States let you simulate interactive UI without duplicating artboards. For example, a single button component can have multiple states (Default, Hover, Pressed) — and you can toggle between them using interactions.
This reduces file clutter and enhances realism in your prototype.
Once your interactions are wired up, click Desktop Preview to test the flow in real time. This is where you can catch usability issues, broken links, or awkward transitions before presenting it to others.
When you’re happy with the result, use the Share tab to generate a public or private link. Adobe XD offers multiple sharing presets: Design Review, Development, Presentation, and User Testing. Each preset tailors the experience for the viewer — whether it’s a client giving feedback or a developer checking specs.
Bonus: viewers can comment directly on the prototype, making collaboration and revisions smoother than ever.
From buttons that behave like the real thing to full user journeys laid out with precision, prototyping in Adobe XD transforms your wireframes into living, clickable previews. It’s not just about showing what a product looks like — it’s about demonstrating how it works.
Designing a user experience is more than just picking colors or drawing buttons — it’s about translating ideas into functional flows that feel intuitive and engaging. Adobe XD bridges the gap between imagination and execution by offering a clean, cohesive workflow that takes you from rough wireframes to polished, interactive prototypes — all within one platform.
In this guide, you’ve learned how to start your design process with structured wireframes: setting up artboards, aligning your layout with grids, and organizing components for consistency. Then, we explored how to evolve those wireframes into prototypes that simulate real user interactions — complete with Auto-Animate transitions, component states, and shared feedback links.
By following this blueprint, you’re not just speeding up your process — you’re enhancing the clarity and impact of your designs. With every interaction mapped out and every component thoughtfully placed, your prototype becomes a powerful communication tool. It helps clients visualize, developers implement, and users understand.
As you apply these steps in your own projects, remember: the best workflows are flexible. Use this as your foundation, but don’t be afraid to adapt it to your style and the unique needs of each product you design.
💬 Ready to test it out? Open up Adobe XD, create a blank artboard, and start building your next project — wireframe first, then prototype. You’ll be surprised how much smoother and more confident your design process becomes.
No bio available yet.
Design work is no longer something one person does alone, saves in a file, and sends around for feed
12 May 2026
Choosing the right design tool in 2026 isn’t as straightforward as it used to be. With platfor
15 April 2026
If you’ve ever watched an experienced designer work in Figma, you’ve probably noticed so
19 February 2026
Be the first to share your thoughts
No comments yet. Be the first to comment!
Share your thoughts and join the discussion below.


